Open the lab
[ YOUR LAB FILE ]
Download the starting topology, then work through the lesson in SwitchLab.
- Save the .swlab file without renaming its extension.
- Open SwitchLab. Import and export controls currently require a desktop-width window. On a smaller screen, Tools → Fit brings the topology into view.
- Select Import Sandbox (folder icon), choose the downloaded file, and confirm the device and cable counts below.
- Select a device, then choose Open device on desktop or its name in the bottom bar on smaller screens. Select CLI for switches/routers or Desktop → Terminal for PCs. Enter
enableonly when the prompt ends in >. - Follow this page beside the simulator. Use a free account to export your work. Reimport the original download to restart; export any work you want to keep first.
Prerequisites
- Complete Ethernet, VLAN and IPv4 addressing fundamentals.
Topology
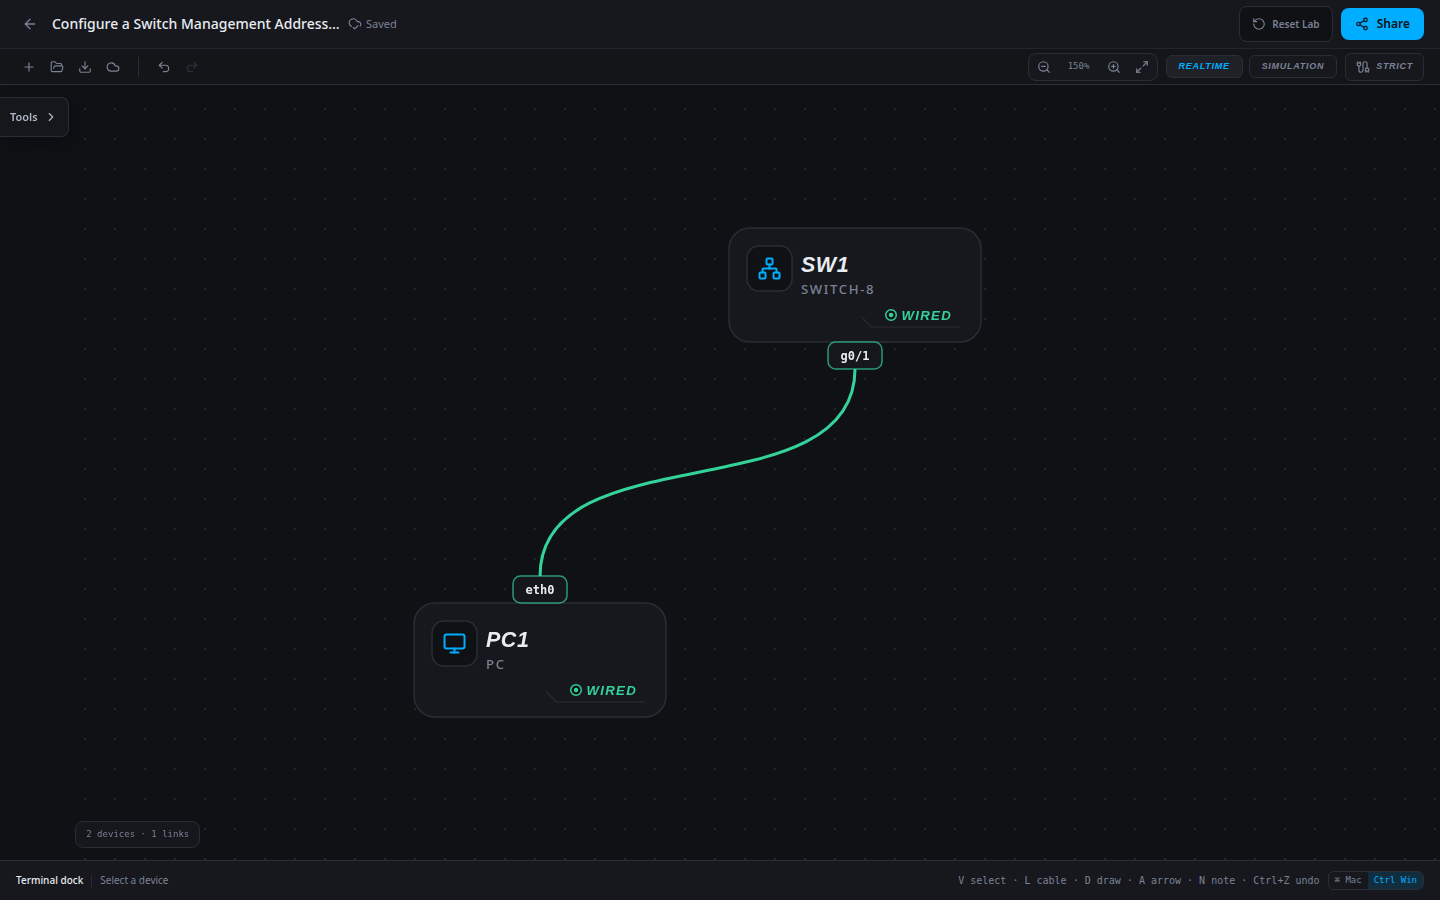
2 devices · 1 links
Scenario
A branch switch carries a directly connected admin workstation but has no management IP or local administrator account. Apply the documented local management baseline.
Objectives
- Establish a reachable management address and identifiable switch configuration.
- Configure the approved local account and console authentication policy.
CCNA blueprint
200-301 v1.1 objectives — this lab covers the following specific skills, not every subtopic in the domain.
- 5.3 — Configure device access control using local passwords.
Starting information
- Admin workstation PC1 is 192.168.99.10/24 on VLAN 1. The switch management SVI is 192.168.99.2/24. No default gateway is needed for this local test.
- Approved hostname: SW1. Isolated lab account: labadmin with password LabAccess42 and privilege 15. These public exercise credentials are not a production password recommendation.
- Keep the physical access port enabled in VLAN 1; an SVI needs a working VLAN path.
| Host | IPv4 address | Mask | Gateway |
|---|---|---|---|
| PC1 | 192.168.99.10 | 255.255.255.0 | None |
| Device / port | Device / port |
|---|---|
| PC1 / eth0 | SW1 / g0/1 |
Tasks
- Inspect the starting running configuration and test PC1 → 192.168.99.2.
- Apply the approved identity, local account and management SVI and console local-login configuration.
- Verify the saved running configuration and management reachability.
- Save/export and reload. Confirm the hostname, management IP and local-login configuration remain present. This lesson verifies configuration and IP reachability; the next lesson exercises interactive remote authentication.
Useful commands
show running-config
show ip interface brief
copy running-config startup-config
Progressive hints
Hint 1
Separate management-IP reachability from authentication and remote transport configuration.
Hint 2
SSH requires a usable host identity/domain, keys, a local account and VTY settings that allow SSH.
Hint 3
Apply the approved SVI and account first; for SSH use login local and transport input ssh on VTY lines 0–4, then test from PC1.
Verification
- PC1 reaches 192.168.99.2.
- The hostname and approved management/account configuration survive export/reload.
Solution / walkthrough
Show Solution
Use enable only from a > prompt; if already at #, begin with configure terminal.
SW1
Configure only the exercise management baseline. Use the PC for the remote authentication test rather than treating local console output as proof of SSH access.
enable
configure terminal
username labadmin privilege 15 password LabAccess42
interface vlan 1
ip address 192.168.99.2 255.255.255.0
no shutdown
exit
line console 0
login local
end
copy running-config startup-config
Run every verification check above after the changes. A saved configuration alone does not prove packet delivery.